Location-aware Git remote URL with AWS Route53 (PREMIUM ONLY)
You can provide GitLab users with a single remote URL that automatically uses the Geo node closest to them. This means users don't need to update their Git configuration to take advantage of closer Geo nodes as they move.
This is possible because, Git push requests can be automatically redirected (HTTP) or proxied (SSH) from secondary nodes to the primary node.
Though these instructions use AWS Route53, other services such as Cloudflare could be used as well.
NOTE: Note You can also use a load balancer to distribute web UI or API traffic to multiple Geo secondary nodes. Importantly, the primary node cannot yet be included. See the feature request Support putting the primary behind a Geo node load balancer.
Prerequisites
In this example, we have already set up:
-
primary.example.comas a Geo primary node. -
secondary.example.comas a Geo secondary node.
We will create a git.example.com subdomain that will automatically direct
requests:
- From Europe to the secondary node.
- From all other locations to the primary node.
In any case, you require:
- A working GitLab primary node that is accessible at its own address.
- A working GitLab secondary node.
- A Route53 Hosted Zone managing your domain.
If you have not yet setup a Geo primary node and secondary node, please consult the Geo setup instructions.
Create a traffic policy
In a Route53 Hosted Zone, traffic policies can be used to set up a variety of routing configurations.
-
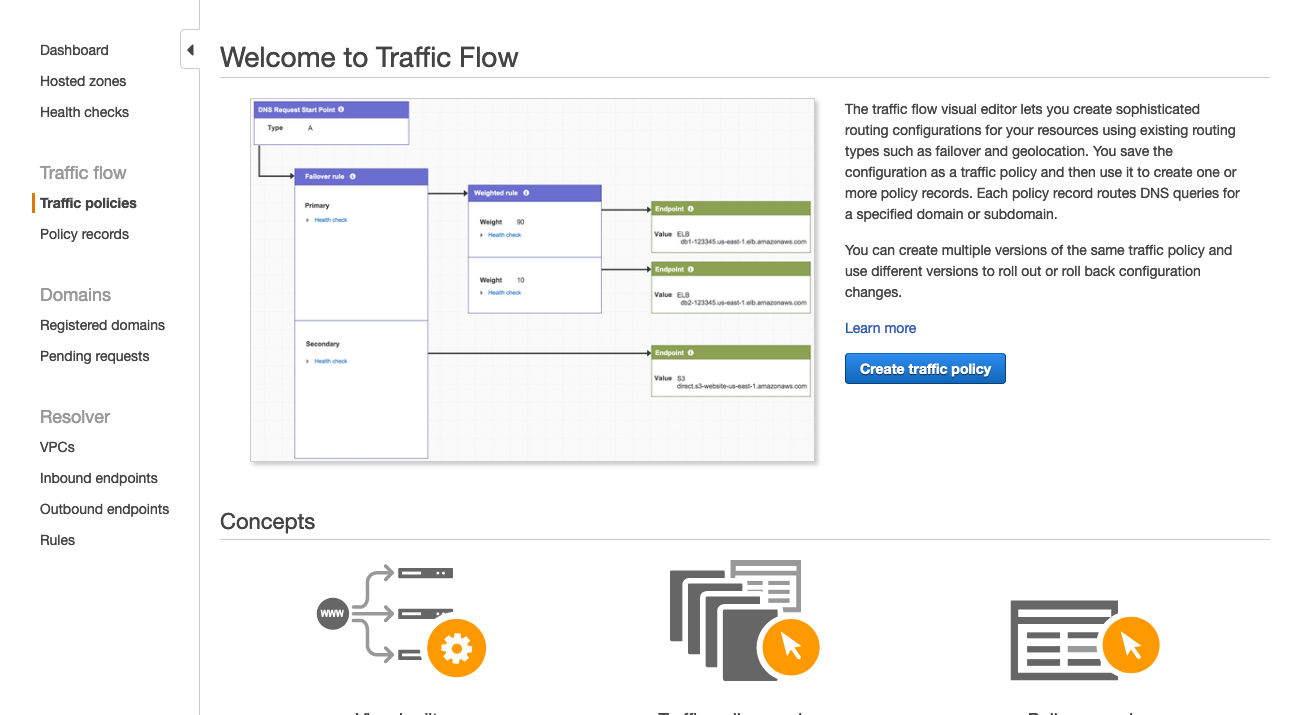
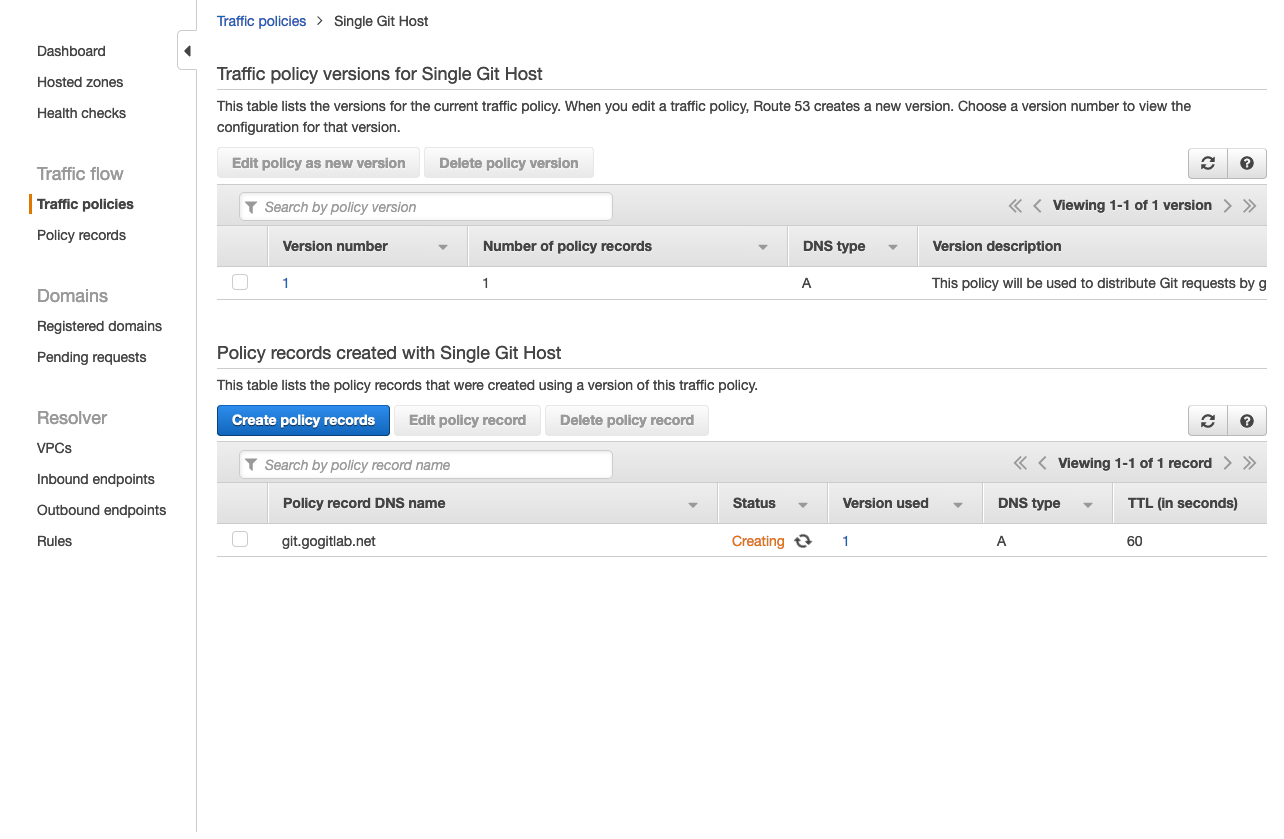
Navigate to the Route53 dashboard and click Traffic policies.
-
Click the Create traffic policy button.
-
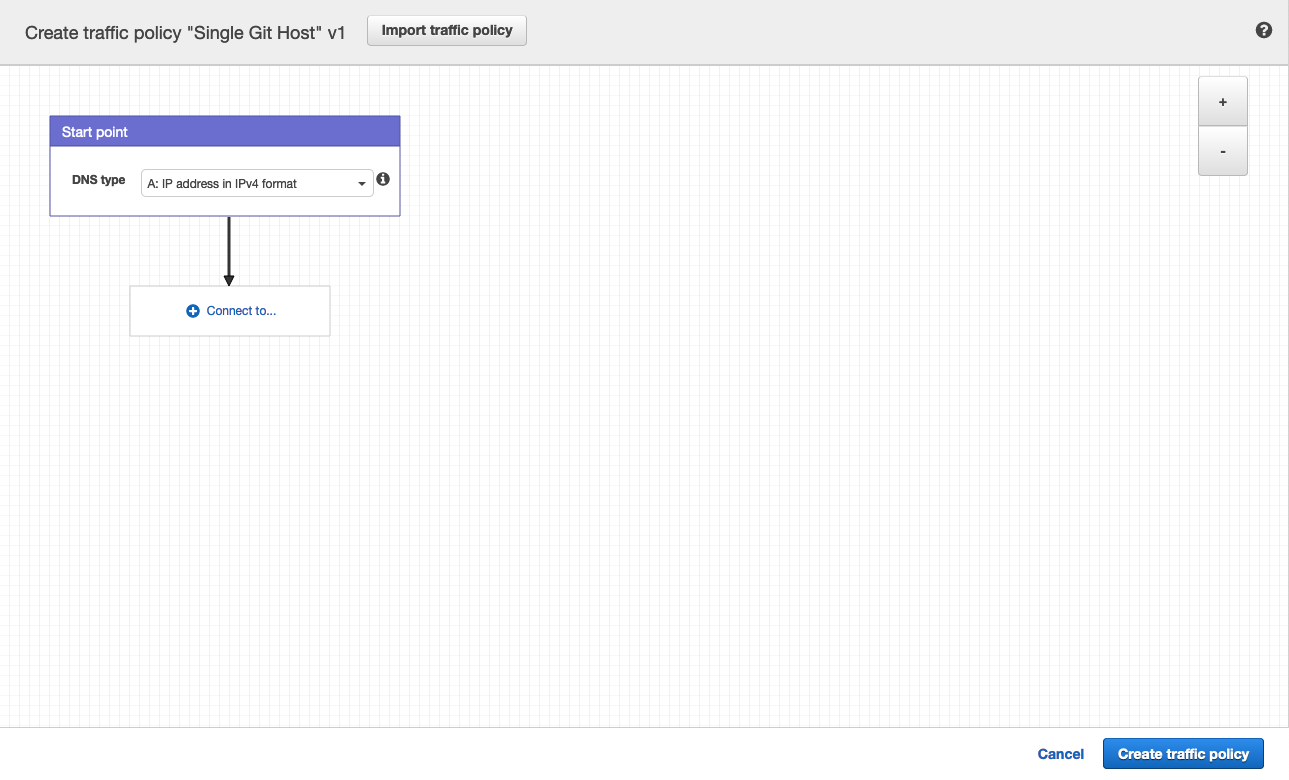
Fill in the Policy Name field with
Single Git Hostand click Next. -
Leave DNS type as
A: IP Address in IPv4 format. -
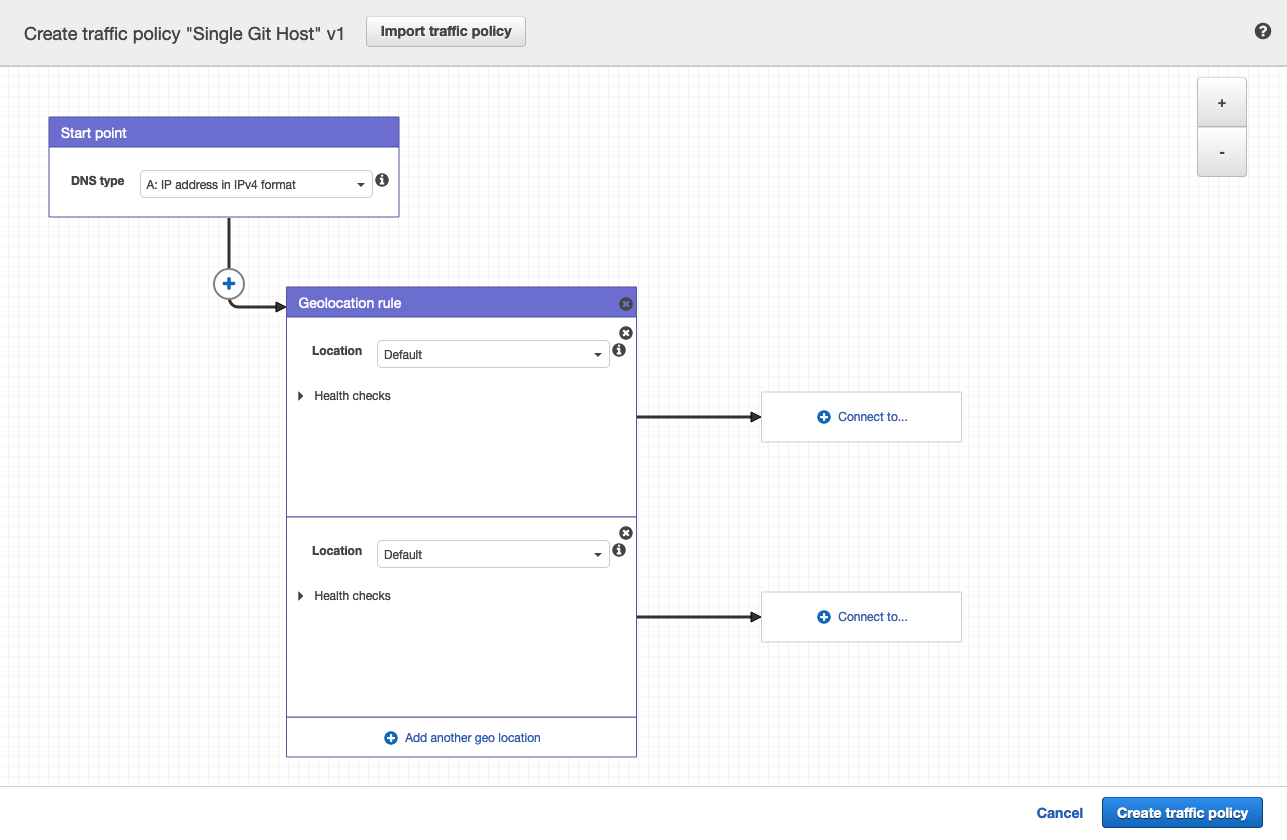
Click Connect to... and select Geolocation rule.
-
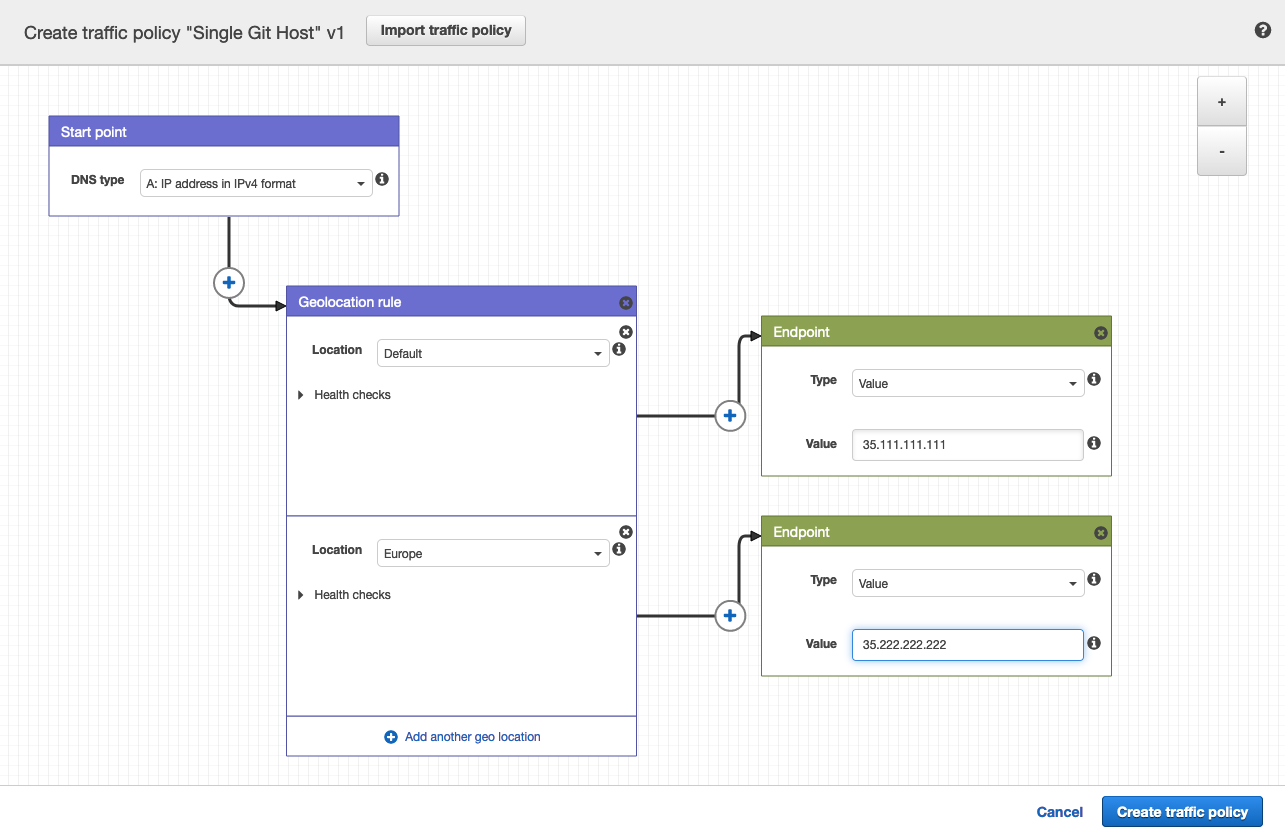
For the first Location, leave it as
Default. -
Click Connect to... and select New endpoint.
-
Choose Type
valueand fill it in with<your **primary** IP address>. -
For the second Location, choose
Europe. -
Click Connect to... and select New endpoint.
-
Choose Type
valueand fill it in with<your **secondary** IP address>. -
Click Create traffic policy.
-
Fill in Policy record DNS name with
git. -
Click Create policy records.
You have successfully set up a single host, e.g. git.example.com which
distributes traffic to your Geo nodes by geolocation!
Configure Git clone URLs to use the special Git URL
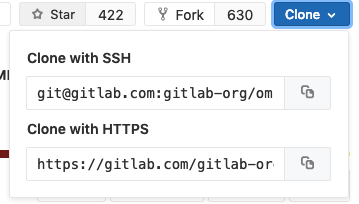
When a user clones a repository for the first time, they typically copy the Git remote URL from the project page. By default, these SSH and HTTP URLs are based on the external URL of the current host. For example:
git@secondary.example.com:group1/project1.githttps://secondary.example.com/group1/project1.git
You can customize the:
- SSH remote URL to use the location-aware
git.example.com. To do so, change the SSH remote URL's host by settinggitlab_rails['gitlab_ssh_host']ingitlab.rbof web nodes. - HTTP remote URL as shown in Custom Git clone URL for HTTP(S).
Example Git request handling behavior
After following the configuration steps above, handling for Git requests is now location aware. For requests:
- Outside Europe, all requests are directed to the primary node.
- Within Europe, over:
- HTTP:
-
git clone http://git.example.com/foo/bar.gitis directed to the secondary node. -
git pushis initially directed to the secondary, which automatically redirects toprimary.example.com.
-
- SSH:
-
git clone git@git.example.com:foo/bar.gitis directed to the secondary. -
git pushis initially directed to the secondary, which automatically proxies the request toprimary.example.com.
-
- HTTP:

